What materials do you have to prepare for DIY virtual reality devices?
Recently, a group of Peng mothers experienced photos of 3D glasses, which made this HoloLens appear again in the public eye. As the most advanced equipment in holographic eyeglasses, it is undeniable that holographic equipment represented by HoloLens will be the leader in the next 5-10 years. But VR is not a profound scientific concept, including HoloLens, Oculus Rift, a tall product far from the consumer group, and a 99-magic storm mirror. As a civilian-class company, Google is born with its popular mass attributes, and has launched two generations of cheap VR products - Cardboard.
Cardboard is a typical entry-level VR product that inherits the design philosophy of Samsung Galaxy Gear VR, but costs less than $10, allowing more people to experience the charm of virtual reality. More conscience is that Google has also launched a manual version of the tutorial, if you do not want to spend money on Taobao, you can make a side with the common side scrap.
DIY Google Cardboard
The price of Google Cardboard in Taobao is generally around 30 yuan, and the better the storm mirror is also nearly 100 yuan. In fact, 9 9 can also make a perfect experience of the future world of VR products. Below we will show you how to make a Cardboard according to the tutorial.
Material preparation:
1, Cardboard design template
Google provides a free Cardboard complete design tutorial and template on the official website, stored in PDF format, we first download and print this template. Users who cannot overturn the wall can click to download the Cardboard generation design template and the Cardboard second generation design template.
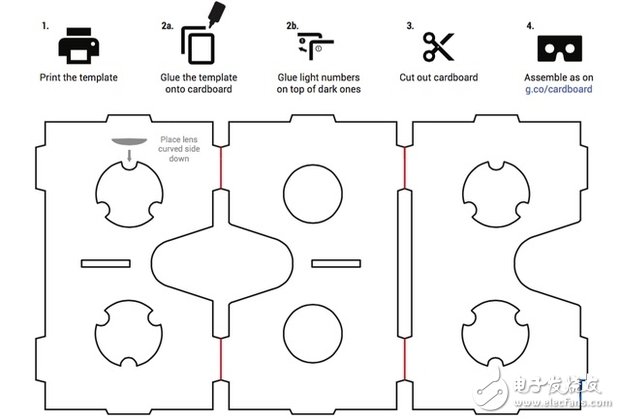
Cardboard generation design template (partial)

Cardboard second generation design template
2, cardboard
Cardboard is the main thing that supports the entire Cardboard skeleton. Google recommends corrugated paper with a length of 56 cm, a width of 22 cm or more and a thickness of about 1.5 mm. There are two types of corrugated paper that we usually touch, one is thicker, used for large-size packaging, and the other is thinner and smaller.
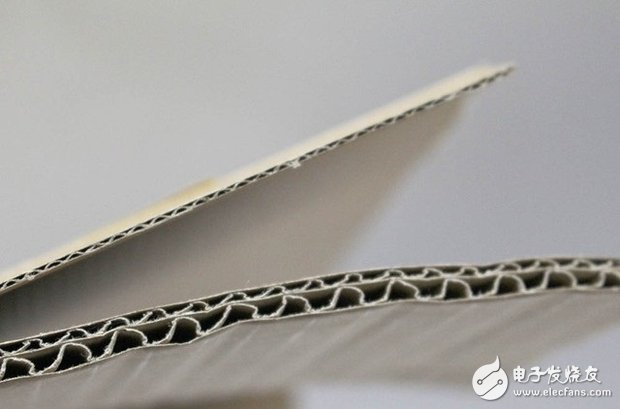
Two different thickness corrugated papers that are common in life
Corrugated paper belongs to things that are easy to draw around, and many things around you can be made, such as the shell of the Mid-Autumn Festival moon cake box, K express box, etc., are very good materials. At first, the author chose to use various invitations from mobile phone manufacturers to make materials, but these cardboards have insufficient hardness, so if you want to use better and colorful color paper, please pay attention to the strength of the paper itself.
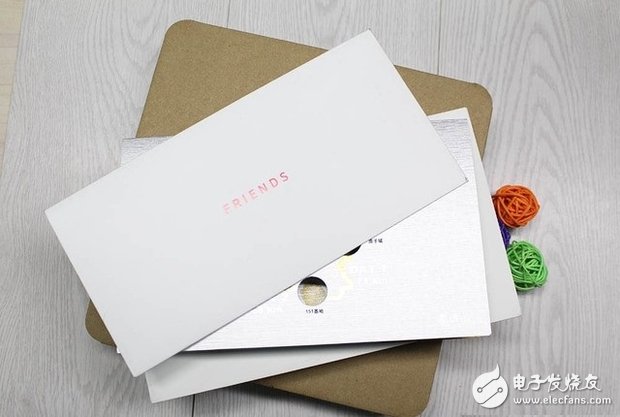
The quality of the invitation is not good enough.
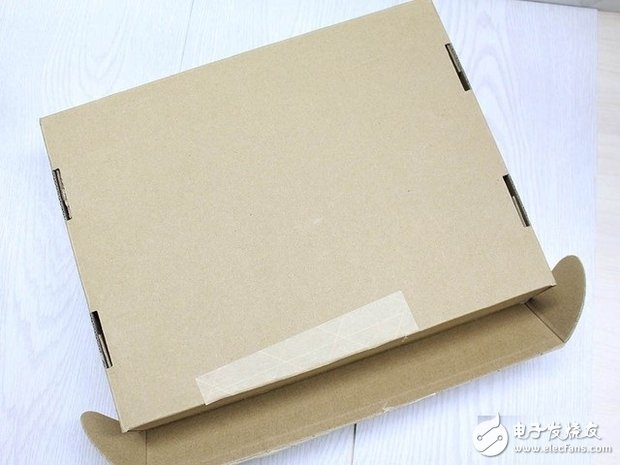
Express packaging box is just right
3, convex lens
Although Google Cardboard belongs to the VR products in the high-tech field, the most expensive and most technologically expensive of them is only the two convex lenses. The convex lens allows the two-screen image to be projected into our eyeballs in a three-dimensional effect, and then captures the angle of our movement according to the gyroscope and camera in the phone, thus presenting us with a virtual world angle.
Google Cardboard has strict requirements on the specifications of convex lenses. One generation of products has a convex lens size of 25mm and a 40mm focal length. The second generation has increased the lens diameter to 34mm, which is suitable for mobile phones with larger screens.
It should be noted that we must strictly calculate the distance from the lens to the screen, and ensure that the lens has sufficient accuracy, otherwise it will cause visual distortion such as object distortion when installed on the Cardboard. Google also gave a way to check the accuracy of the lens, placed above the light, to check whether the formed stripes are straight lines, high school physics knowledge I believe everyone knows the principle.

Verify that the convex lens is accurate
Although we rarely have such a convex lens around us, fortunately we have a versatile treasure, search for the keyword "convex lens" + "Cardboard", there are many convex lens products specifically adapted to Cardboard, the average price is only 4.5 yuan per piece It is very simple to buy the right lens for 9 yuan.
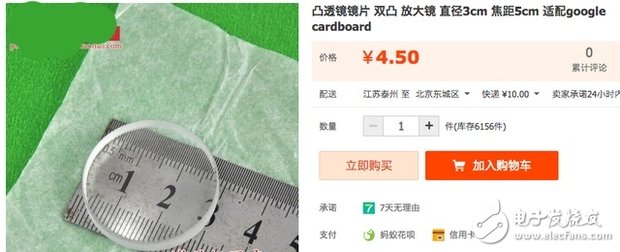
A convex lens price
4, two-sided glue, glue sticks, scissors, round magnets and rubber bands
Scissors are used to cut the shape in the template. The glue stick is used to bond the A4 carton corrugated paper, so that we can manually cut out the complete graphics. In addition, the folding of the Cardboard requires the magnet and the Velcro to be fixed. Since the Velcro is not the most common object, You can use two-sided glue (costing 5 cents) to fix it. The only drawback is that it is difficult to reuse. The rubber band is used to finally fix the phone installed in the Cardboard; you can also use a ruler to correct it when folding corrugated paper. These tool materials can be found almost everywhere.
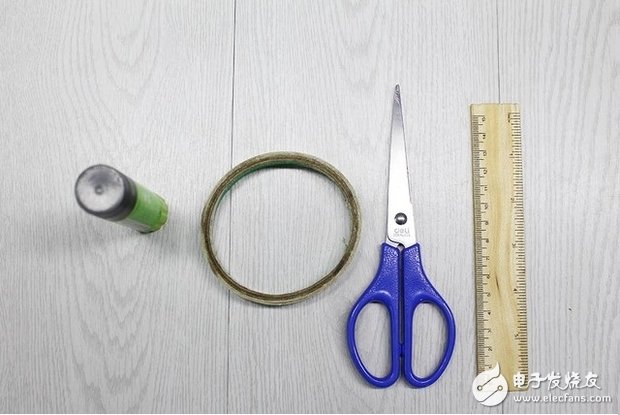
Prepare common paper cutting tools
After we have prepared the above, we will start production. Since the Cardboard generation is more suitable for printing, this time we introduce the DIY process of the Google Cardboard generation.
Tailoring template DIY Google Cardboard pay attention to these points
Step 1: Print and crop the Cardboard design template
There are three kinds of A4 papers in the template of Google Cardboard. It is necessary to pay attention to the color printer when printing. The template will display red and black colors, among which black is cut and red is used for folding.
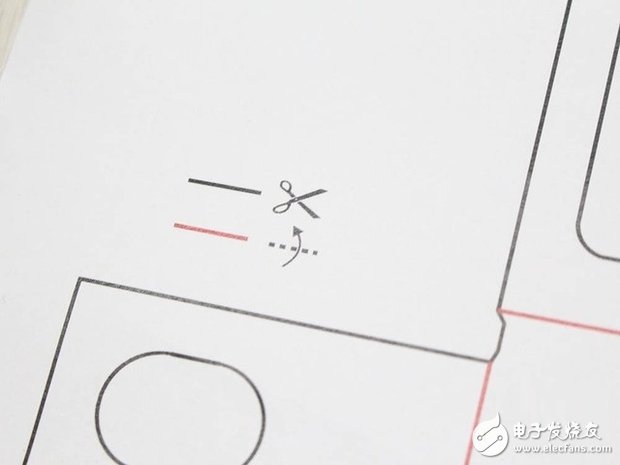
Red folding scissors
It is recommended that you first cut the outline of A4 paper, and the stitching between A4 is required. In the template, Google clearly marks the stitching position with numbers. You only need to splicing according to the corresponding numbers.
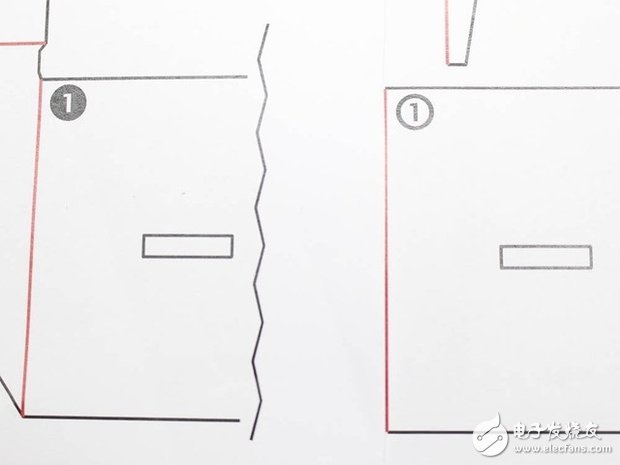
Splicing by number
Cutting the three A4 paper templates is the result of the following picture. At this time, select the same size of corrugated paper, and then use the glue stick to stick the cut outline on the corrugated paper for further cutting.
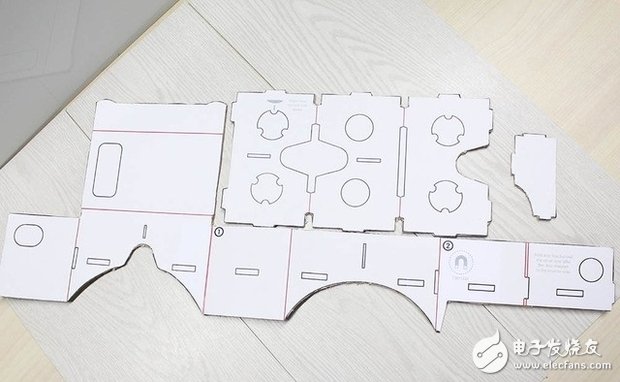
Tailoring the complete outline
Because of the thicker corrugated paper, it is not very easy to cut when it encounters irregular edges. It often leaves a lot of burrs, and patience friends can take a break. In the case of the following picture, it is recommended that you prepare a pencil sharpener at the same time. If you can't cut it, you can use a pencil sharpener to engrave it.
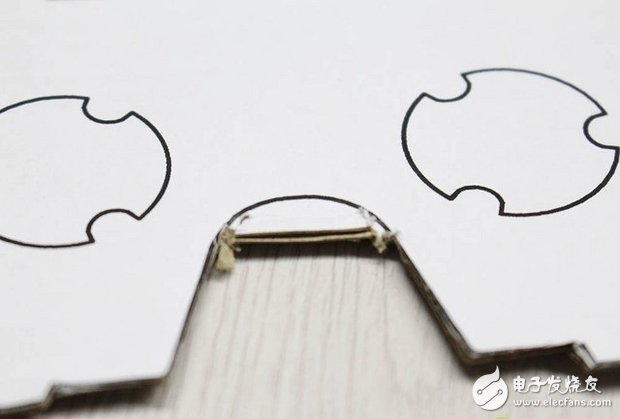
How to tailor the details
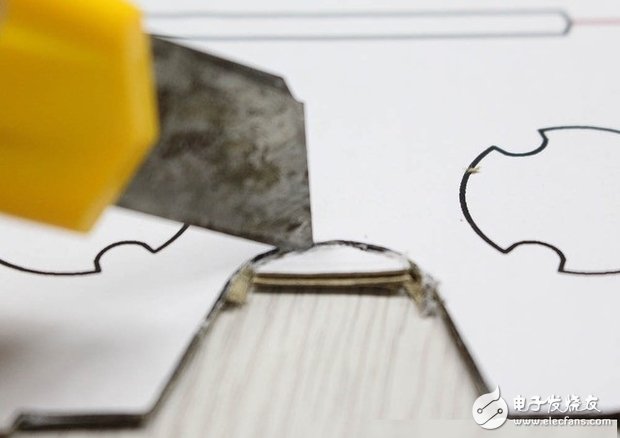
Recommended pencil sharpener
The Cardboard generation template has a lot of holes, and the scissors are completely ineffective for these holes. I recommend using a pencil sharpener to make sure that the irregular shapes such as round holes can be removed smoothly.
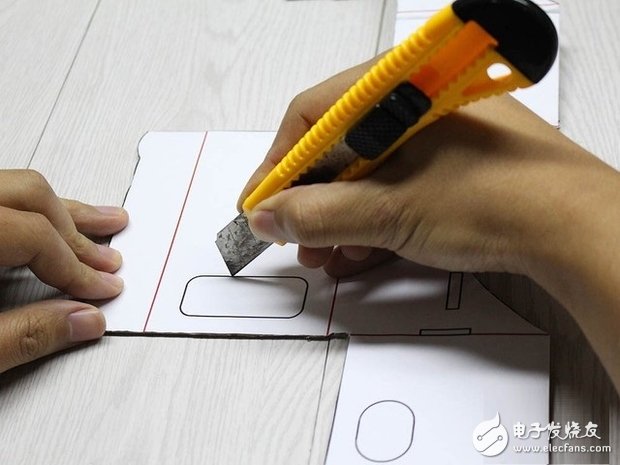
Pencil sharpener to deal with various holes
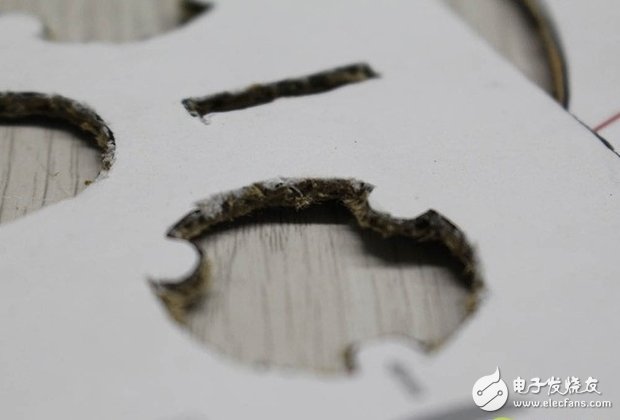
Some residual burrs can be finely polished
The effect of the complete cut template is as follows, the whole process is time consuming and laborious, and everyone needs to be patient.
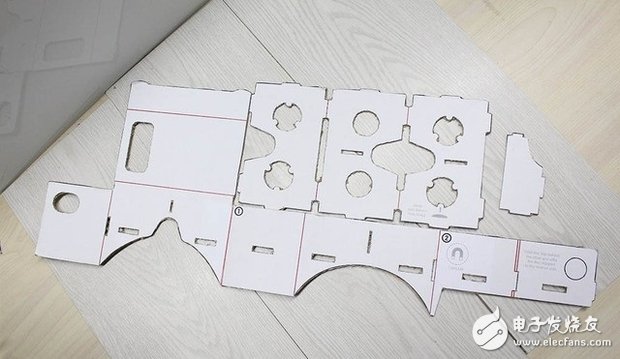
Tailored template
The next step is to fold the red line in the template. Due to some characteristics of the corrugated paper, it is difficult for us to fold the corrugated paper in half, fold it, and not fold it in accordance with the established line. Here, I will give you a skill. Use a pencil sharpener to tie several broken holes on the red fold line, so that the structure of the broken line is destroyed and the strength is relatively weak. It is easier to bend along this line when folding. . In addition, you can use a ruler to help us fold the corrugated paper, which makes it easy to fold.
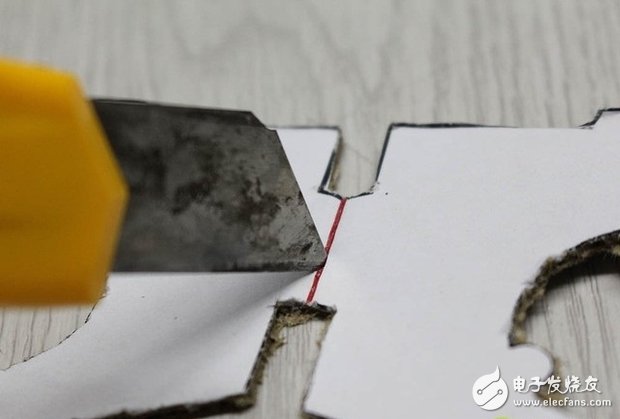
Put a few holes before folding
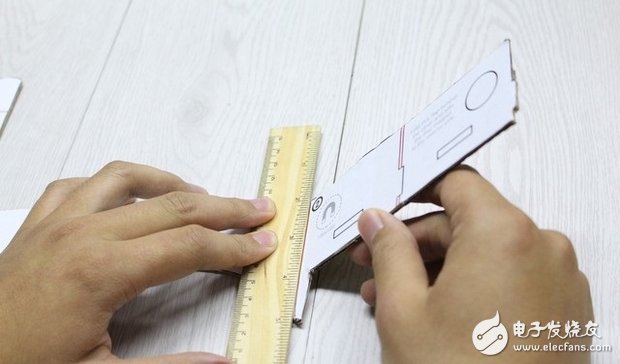
More accurate with a ruler
This basic cutting and folding work is completed, then we need two sides of glue, lenses and rubber bands, magnets to assemble this pair of virtual reality glasses.
First let's take a look at the complete assembly diagram:
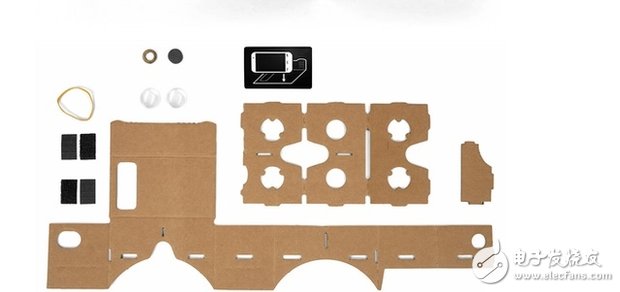
Complete assembly diagram
First assemble the lens and fold the template with the lens as shown:
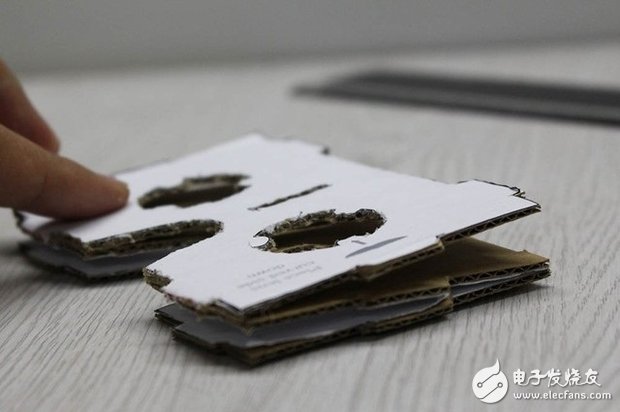
Pay attention to the folding method
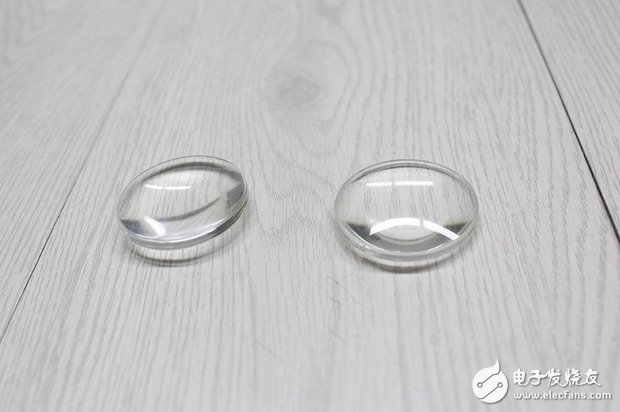
Mounting convex lens
Put in the lens, the protrusions on both sides can fix the lens and prevent it from falling off, then use the two sides to glue firmly.
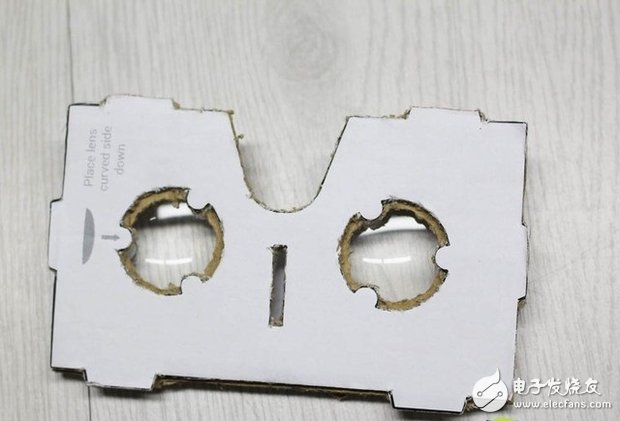
Installation effect
First, the remaining small pieces of paper are stuck on the convex lens, and then the assembled convex lens is stuck in the position as shown:
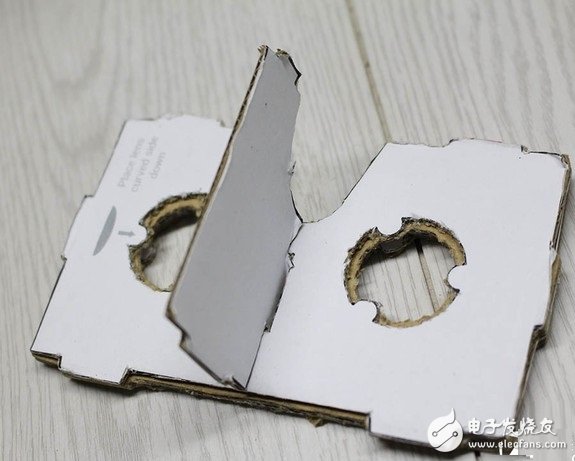
Embed the card into the reserved hole
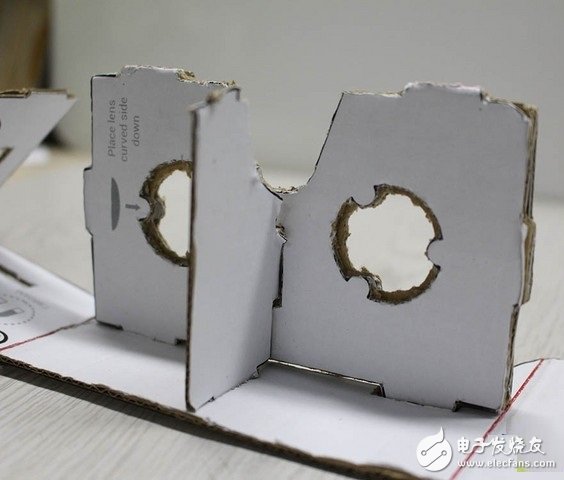
installation steps
The overall view is as follows:
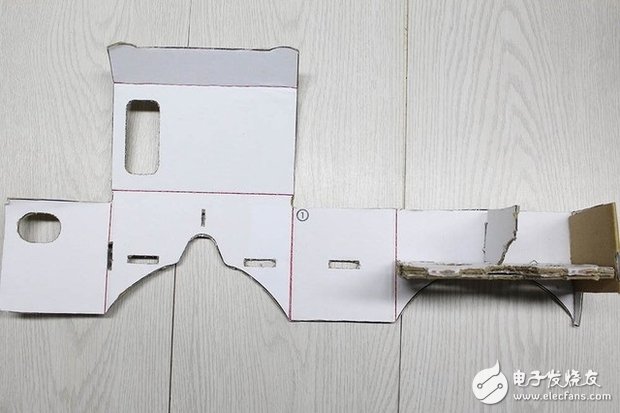
One of the installation steps
Then bend it
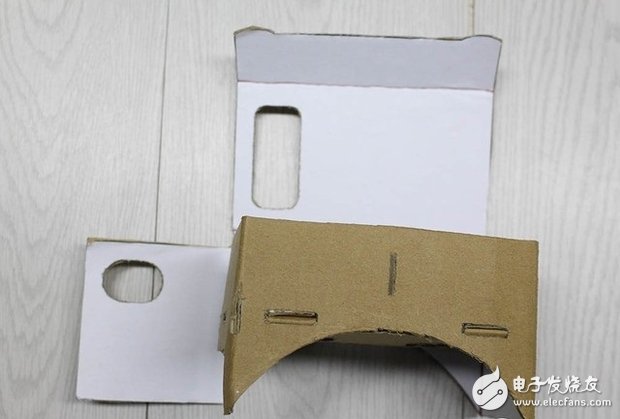
Installation step two
Finally, fold it down:
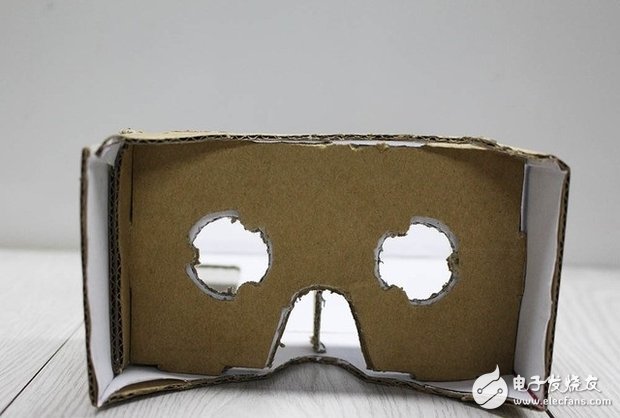
Installation step three
The latter is used to fix the phone:
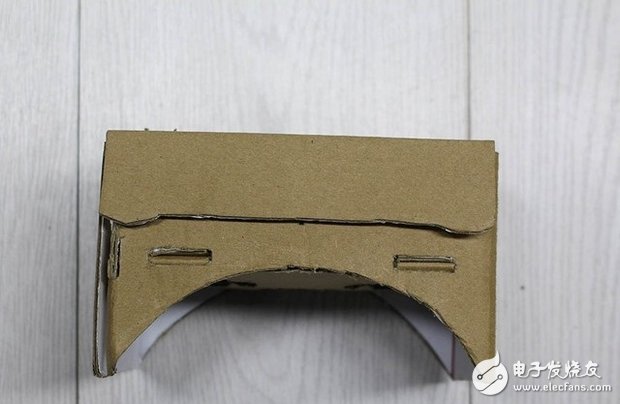
Installation step four
The effect after completion is as follows:
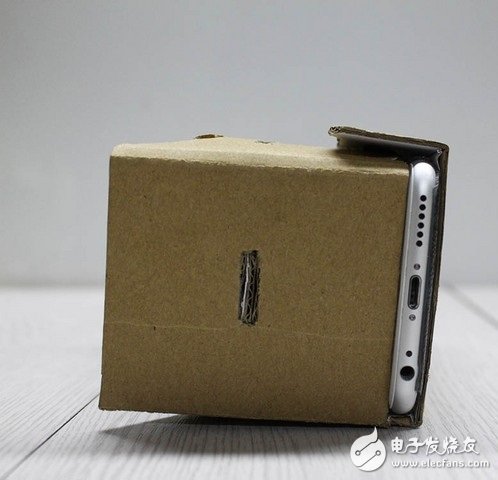
Finishing effect
In addition, we used to make a rectangular hole to fix the entire skeleton, so these details can not only be lazy, but also more careful in the specifications, in order to tighten the seams.
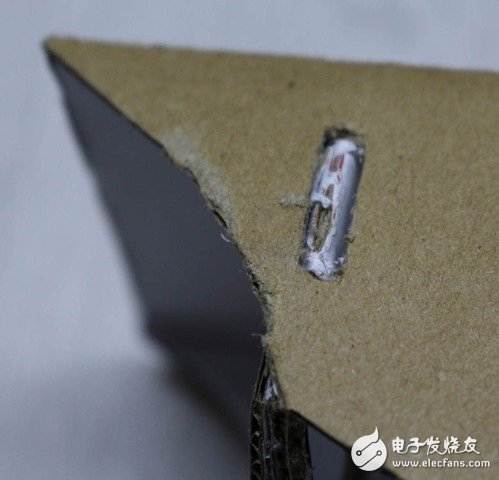
Attention to detail
Such a simple virtual reality device is completed, and the whole process is made of materials that can be found around, and the cost is less than 10 yuan. When you envy those seemingly high-tech products, you can get the experience of thousands of dollars of high-tech products at a very low cost with a single hand. Why give up this fun?
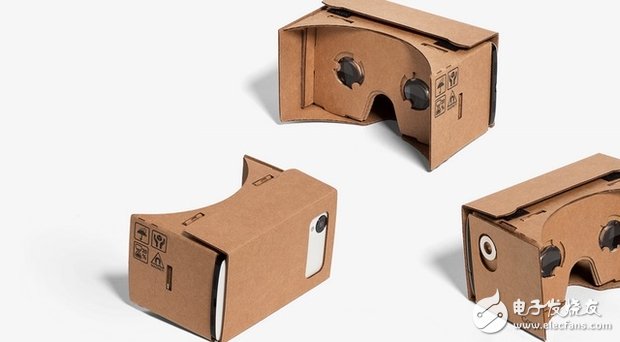
Google Cardboard
Silver-zinc Rechargeable Battery
Silver Zinc Rechargeable Battery,Battery For Aircraft Standby Power,Professonal Silver Zinc Battery,22.5V 45Ah Silver Zinc Battery
Henan Xintaihang Power Source Co.,Ltd , https://www.taihangbattery.com